Newborn Safety – How to achieve a simple and organic gallery
By Jillian Kirby of Jillian Kirby | Baby
Please don’t mind me as I step up on my soapbox for this article. If any topic amongst photographers is worthy of soapbox moments, it’s definitely this one: Newborn Posing Safety.
If you follow me at all, you may have noticed that the poses I choose to work with are just a little more natural in origin than a lot of the ‘it’ poses that are popular these days. I don’t do composites, I don’t hang babies in hammocks, wraps or other wise and I generally veer away from the ‘it’ poses of the moment. We could all go on and on about our views and opinions on this topic, but that’s not what I’m here for. I’m here to show you that it’s easy and doable to complete a newborn session without having to add in any of the above mentioned ‘tricks’. Just try to keep in mind that this isn’t a competition of who can do better. It’s an opportunity to photograph a tiny human being that is loved very much.
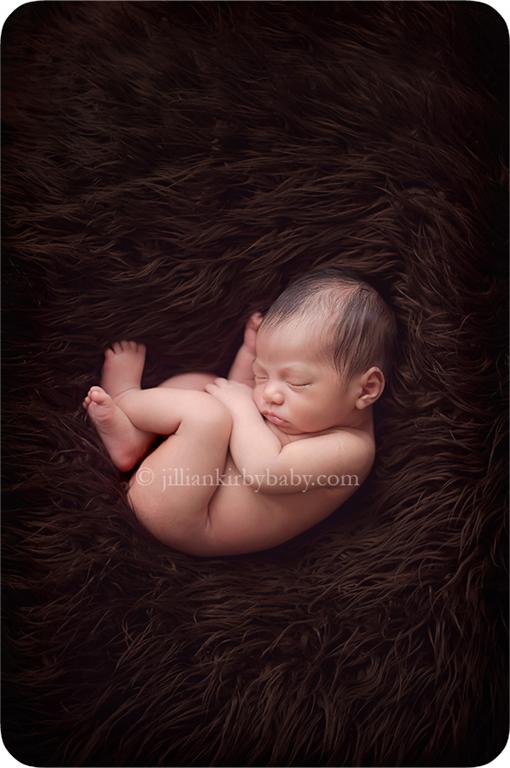
Now let me start by saying that you will absolutely get asked for setups that you display in your portfolios. For example, if you have multiple images of babies with their feet out in front and leaning the weight of their heads on their hands on your website, you absolutely will get someone who wants that shot. If you fill your blog with shots of babies hanging from tree branches in stork like bags, some new mother is going to see it and want it cause it’s different. My #1 tip is to fill your portfolio with the setups that you feel comfortable, capable and safe doing. And that’s all you’ll get asked for. Bottom line.
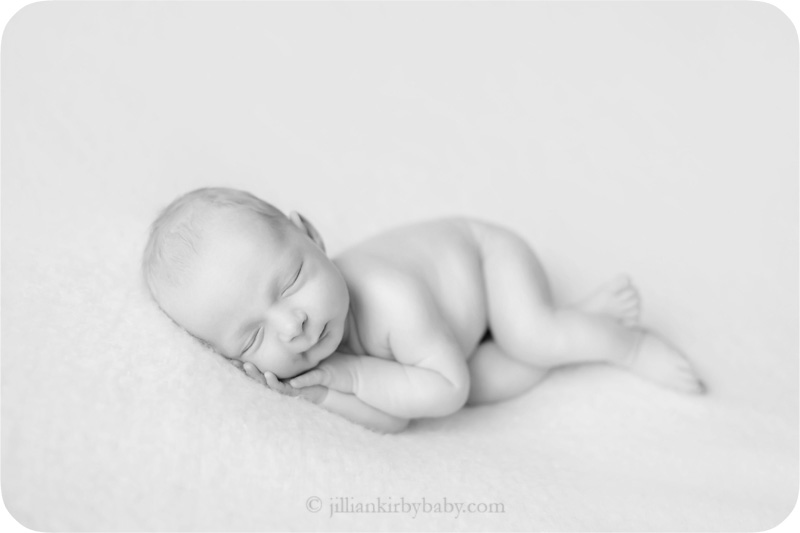
The next tip for filling your gallery is starting off simple. By this I mean, pick a backdrop blanket, pick a matching 2x2 blanket (some simple baby blankets work too) and lie baby down on his side. Lay the 2x2 on top of him and play with different simple adjustments that alter the image. Move his hands from side lying to face shaping. Adjust the blanket from over his waist to up around his head. It’s simple changes like these, along with changes to the orientation you choose, that can add in an additional few images to your gallery and give your clients more choice.
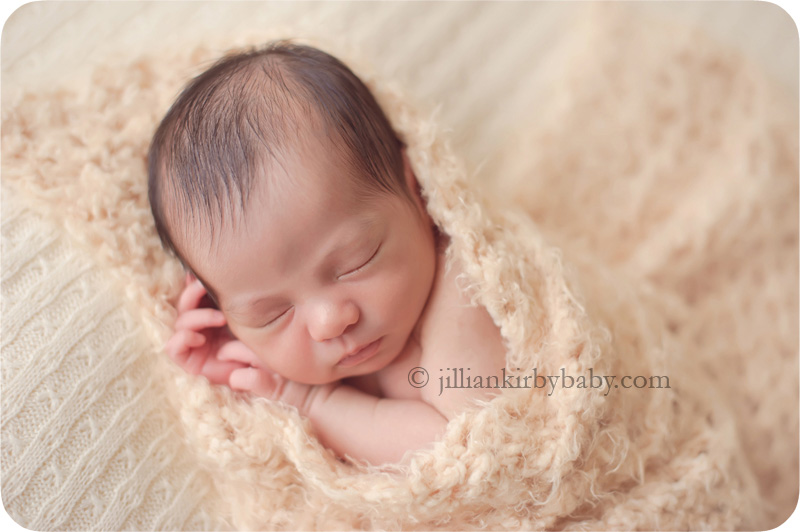
Tip #3 is play with your angles. Safety issues aside, our ultimate goal is to keep baby asleep. So this next tip not only helps with that variable, but it also helps you add images to the gallery without having to alter the pose. Shoot from above, shoot from out front and shoot from the side. Be creative and play with compositional rules and depth of field to show your clients exactly why they chose a professional to capture these moments.
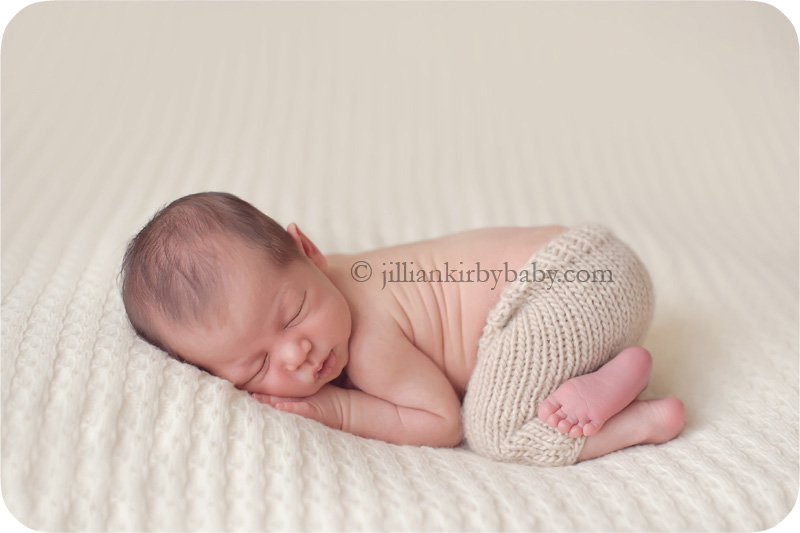
My next tip is to add in macro shots. Go out and purchase a nice macro lens. Not only does this add variety to your already gorgeous gallery, but it adds images to your gallery that your client couldn’t necessarily just go home and get on her own. Practice and get good at focusing on baby’s little bits such as her fingernails, her eyelashes, the hair on her ears. Once you’ve got that focus nailed, work on your composition and lighting to make those images works of art.
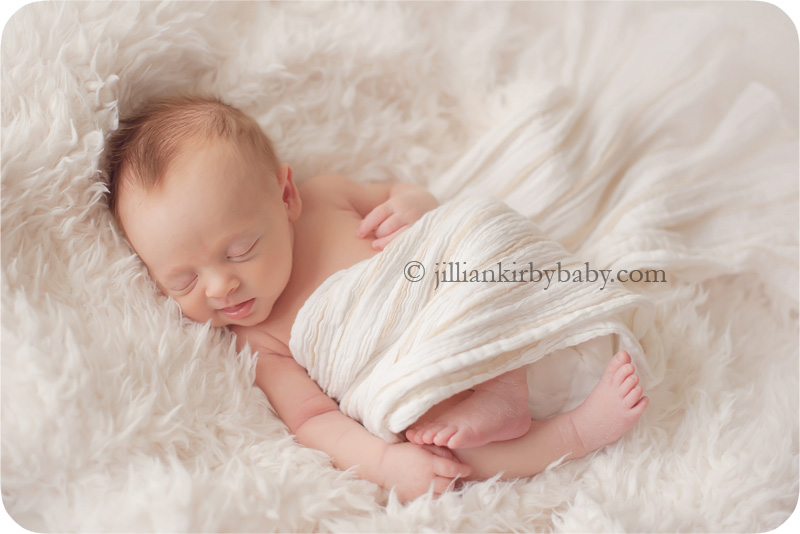
Work out a schedule in your head of how your session is going to go. Tip #5 and my final tip is that if you know exactly what poses and setups you’re going to do ahead of time, you won’t feel the need to resort to the poses that you don’t feel comfortable presenting. Know how your session is going to go. Know your step by step and feel confident in what you can offer to your client.
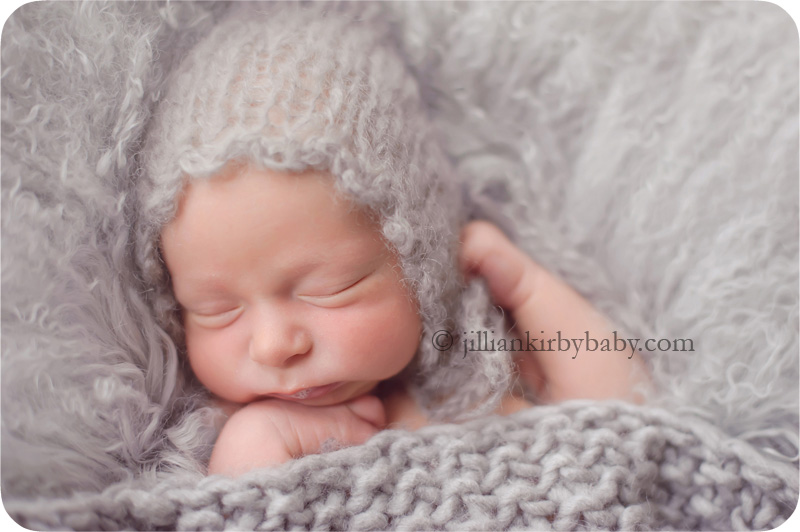
My bottom line is this. A session can be completed successfully and masterfully without having to attempt composites you’re not comfortable with, trendy (but tricky) poses or hanging shots. You just have to know where to start!